How to Make a Super Simple Homemade Ricotta Cheese


Cheese, Glorious Cheese! Every cheese lover knows this commercial from 1987 had it right! I love all kinds of cheeses and one of my favorites is the soft, spreadable kind like creamy ricotta cheese. Below I’ll demonstrate just how easy it is to make a super, simple homemade ricotta cheese.
I’m not kidding folks. Ricotta cheese really is easy to make. It requires a little bit of inactive time, varying from 30 minutes to 2 hours depending on consistency preferences, but so what. You can read a book, watch TV, or prepare a zesty tomato salad to enjoy with the ricotta cheese once it’s finished.
CAST OF CHARACTERS
It’s quite possible you already have all the ingredients you need for making ricotta cheese at home, but if you don’t Its OK. There’s nothing to fret about because the ingredients are staple items that are easy to purchase. You can also opt to go 100% organic as many dairy products, vinegars and olive oils can be found in the organic section of your favorite grocery store.
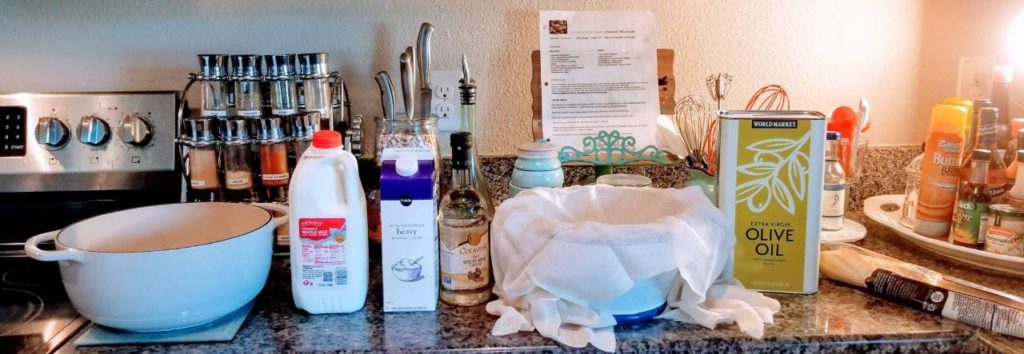
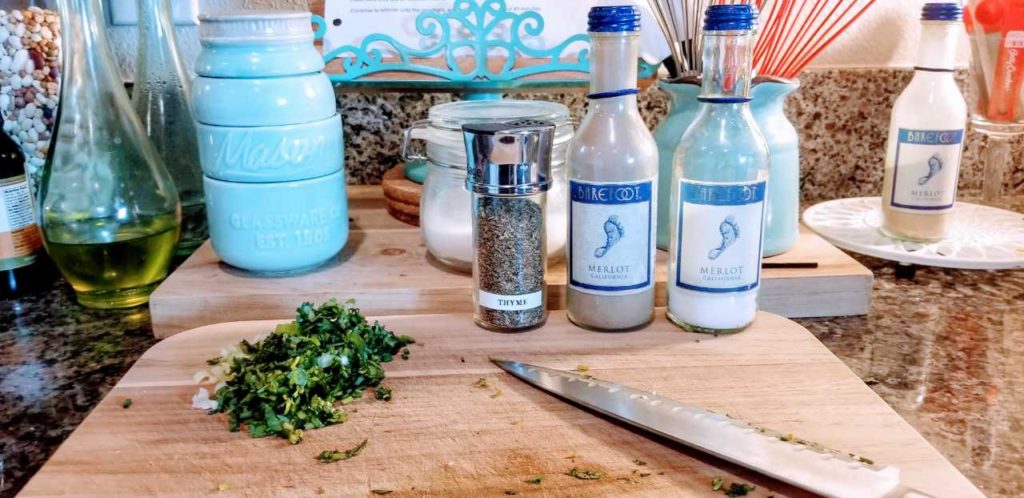
The cast of characters are always Milk, Heavy Cream, Salt, and any acid. The most popular acids are white wine vinegar (shown above next to the carton of heavy cream), white distilled vinegar, or lemon juice.
I’ve used all three on various occasions and the taste is great whichever one I use. My favorite is white wine vinegar, but as I don’t always have that around, lemon juice or regular white distilled vinegar will work just fine. You might be able to use apple cider vinegar, but I haven’t tried that yet so I can’t advise.
INGREDIENTS
- 4 cups of milk (I use whole milk but you can use any kind)
- 2 cups of heavy cream
- 1 to 2 teaspoons of kosher salt, or sea salt
- 3 tablespoons of white wine vinegar, white vinegar, or lemon juice
SPECIAL TOOLS
- A pot
- Whisk
- Cheesecloth
- Colander
- Large bowl
** This post may contain affiliate links. You can read our Affiliate Policy here.
This ricotta cheese recipe is for plain ricotta cheese and it took me a few stabs at it to get it just right. With that in mind, you have many options to customize the recipe to your tastes. But more on that later.
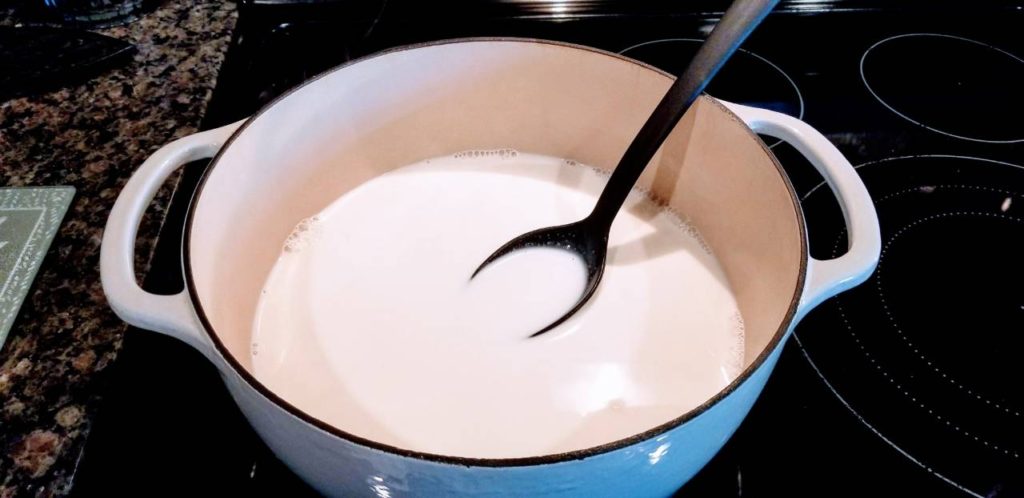
This recipe calls for my Lodge Enameled Dutch Oven. I like to use this pot for this recipe because the iron allows for even heat conductivity.
Also, quite honestly, because I just LOVE my pot and want to use it every chance I get! LOL

Pour the milk and cream in the pot, then stir in the salt. Bring it to a boil, stirring occasionally.
A NOTE ABOUT SALT
First, salt is listed as an ingredient, using 1 to 2 teaspoons. Most ricotta cheese recipes ask for 1 teaspoon, but I like mine a little saltier so I add 2 teaspoons.
Second, remember that you can always add salt to the FINAL product. Play around with this your first few tries until you find the amount that suits your taste best.
NOW BACK TO OUR REGULARLY SCHEDULED PROGRAM:
Boil the milk and cream for a few minutes, then remove the pot from the heat entirely. Now add the vinegar, stirring it in.
I like to use a silicone whisk at this stage, mostly because I don’t want to damage my pot with a metal one! The three pictured here have come in handy on many occasions.

The acid is the active ingredient that actually curdles the milk separating it into two parts, curds and whey. Yep, just like Little Miss Muffet! The curds look thick and cheesy, and the whey looks like watery milk.
Many recipes say to let the acid activate for just a minute or so. I have tried doing that and I simply don’t like the results. I always leave the milk/acid mixture in the pot for 20 minutes.
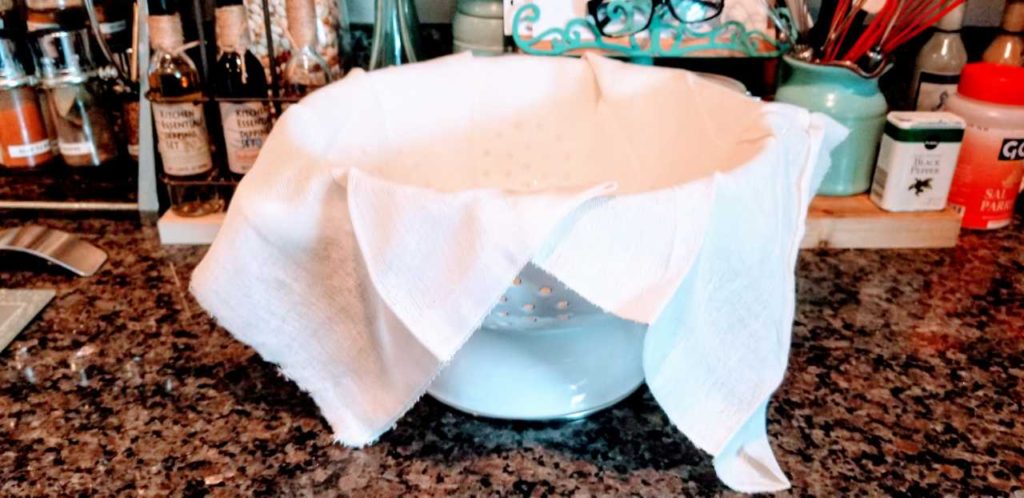
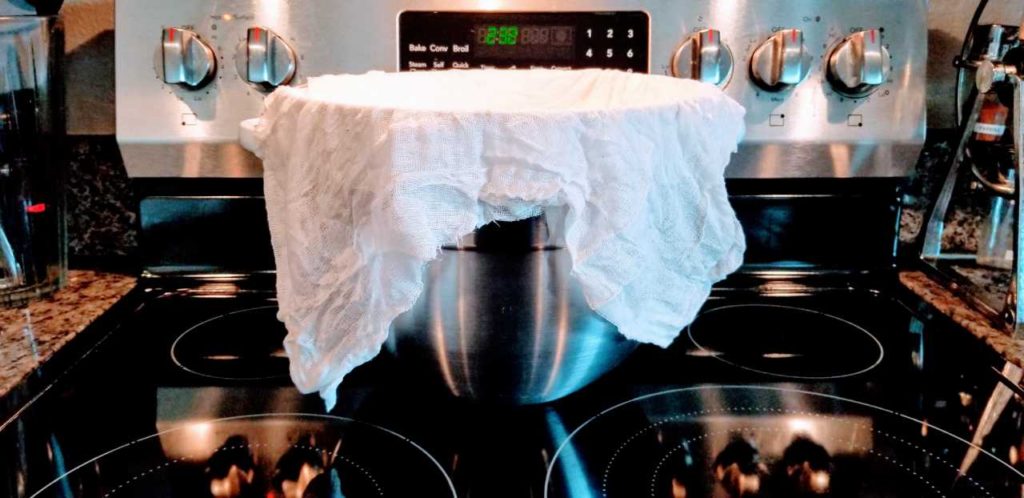
While you’re waiting, dampen the cheesecloth with water. This helps to prevent sticking. Then line the colander with the cheesecloth. Now place the colander on top of another bowl. This bowl will catch the whey as it drains.
THE WAITING GAME
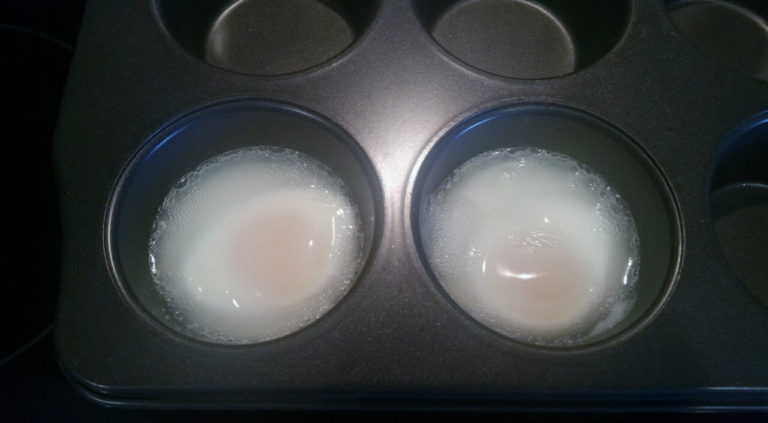
Once the curds and whey are well formed, pour the entire mixture into the colander. Now it’s time to play another waiting game. Did I forget to mention this recipe provides great practice for the art of patience!
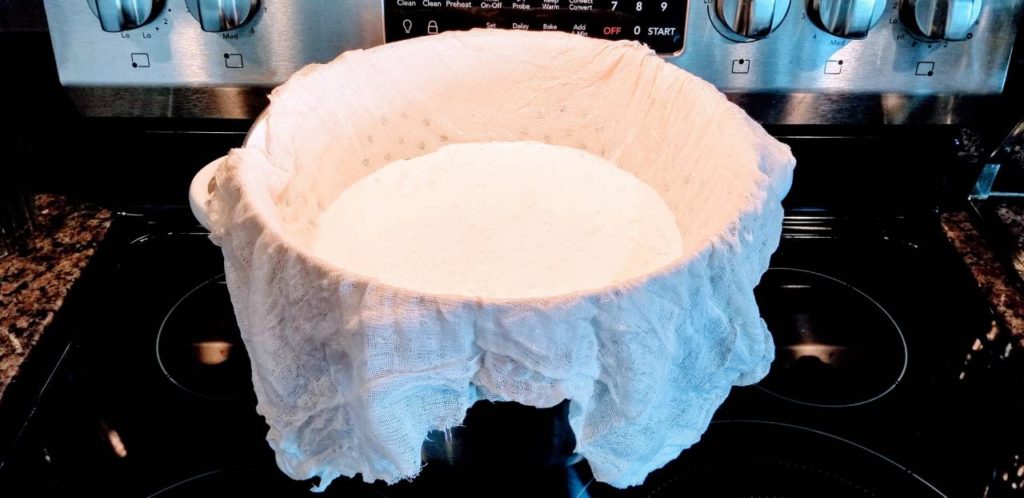
Some recipes say this “draining” period will last 10 minutes. Some say up to 2 hours. I have never done less than an hour. But you can play with the time until you get the cheese consistency that you like.
Note that shorter periods will produce a moister cheese, and longer periods of time will produce a thicker cheese. I prefer mine with less watery substance, so I opt for 1 to 1.5 hours of drain time.
This is about the time I go read a book, like this one about wine and vineyards because we all know how wonderful wine and cheese go together.
Or The Merlot Murders because it’s sort of funny to read about murder and intrigue while characters are making wine, while I’m making cheese.
Or maybe I’m just weird. I’m not sure. You be the judge (not too harshly, please).


VOILA! ALL DONE
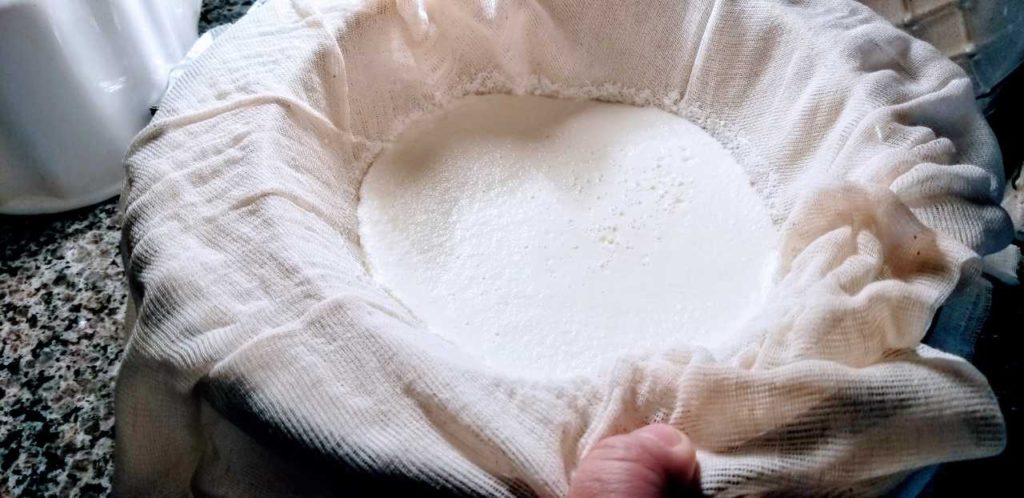
After the desired amount of drain time that you want, your cheese is ready! You should have a little over 2 cups of ricotta cheese, give or take.
Lift the cheesecloth out of the colander and gently roll out the ricotta cheese into a bowl or plastic food storage containers, and refrigerate.
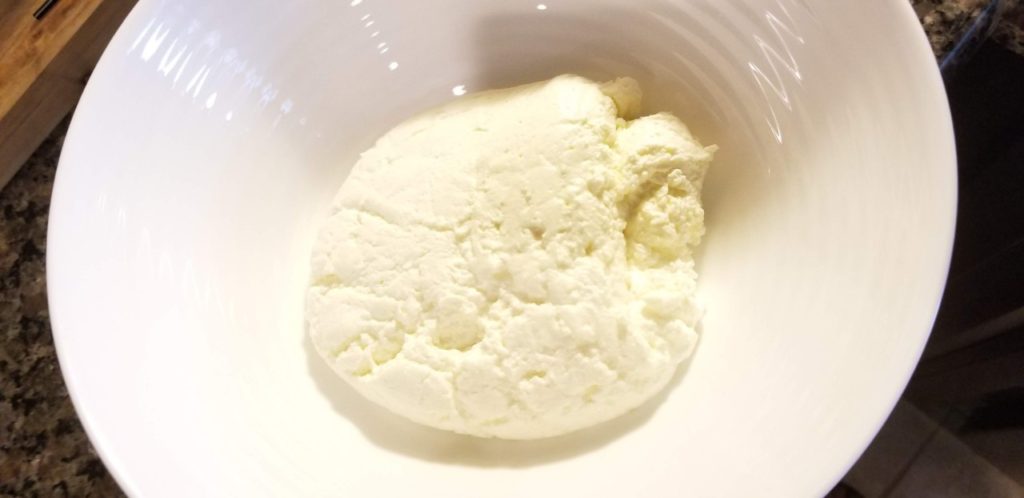
You can eat it now or let it set up in the fridge a bit. Plus, if you’re used to cold cheese you’ll appreciate the chill time.
I know this post may seem like a lot, but really it’s super easy. You boil 3 ingredients for like 5 minutes, then add one more ingredient off heat for 20 minutes before draining a bit.
You can now enjoy your cheese all week long. It should keep in the refrigerator for up to 5 days or so. However, the ricotta never lasts that long in my house, so I don’t know exactly how many days it will last.
MODIFY ON THE FLY
The plain cheese you have on hand can be eaten as is, or you can Modify on the Fly turning it into herbed cheese with whatever you have on hand.
Today I’m adding scallions, chives, pepper, thyme and cilantro. You can add any fresh or dried herbs you like, creating a whole host of flavor profiles.
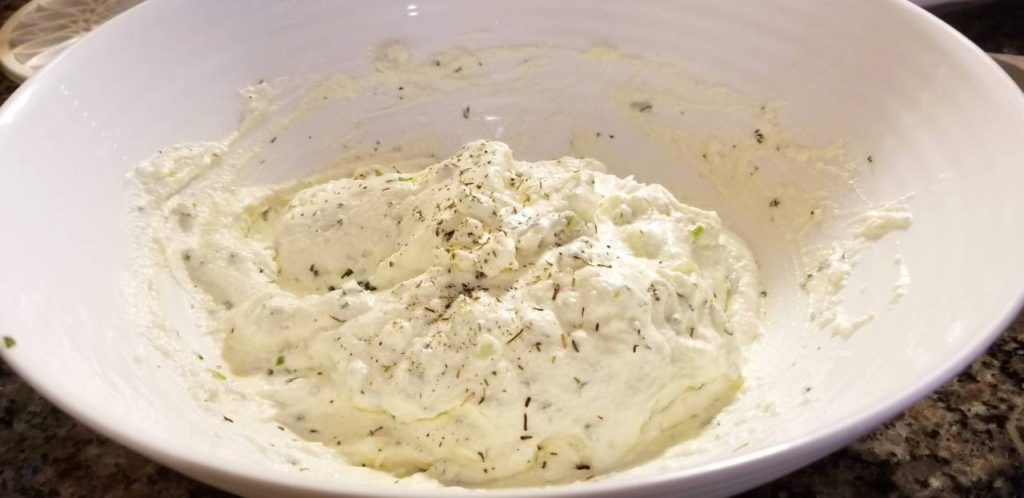
Right before consumption, I like to add a decadent drizzle of extra virgin olive oil, then use it as a spread for bread, crackers, or corn chips. I’ve used it for salads, crudité dip, Italian food, you name it!
The Cheese-abilities are endless! Enjoy!
Cynthia
385Life
Live · Love · Learn
Would you try this recipe at home?
If you tried it, did you like it?
Please feel free to share your comments below.
For further community engagement please join the 385 Life Facebook Group.
Remember, sharing is caring, if you like this post please consider sharing it on Pinterest or FB, thanks!