5 Halloween Crafts You Can Do in a Weekend
It’s that time of year again. The leaves are bursting with color, the air is lighter, cooler and the days are getting shorter. The Song of Samhain beckons. I love this time of year, I love decorating for all things Fall, and I love Halloween crafts you can do in a weekend.
Back in the day, Halloween kicked off quintessential TV specials like, “It’s the Great Pumpkin, Charlie Brown”.
I waited an eternity for it to air on TV, which used to coincide with the rare moment my sister and I had complete control of the only household television.
** This post may contain affiliate links. You can read our Affiliate Policy here.
I also like to indulge in a few spooky reads during the month of October like, Stoker’s Dracula & Shelley’s Frankenstein, along with a whole brew of Witchy Wonders such as The Physick Book of Deliverance Dane, Labyrinth Lost, and The Midnight Witch.
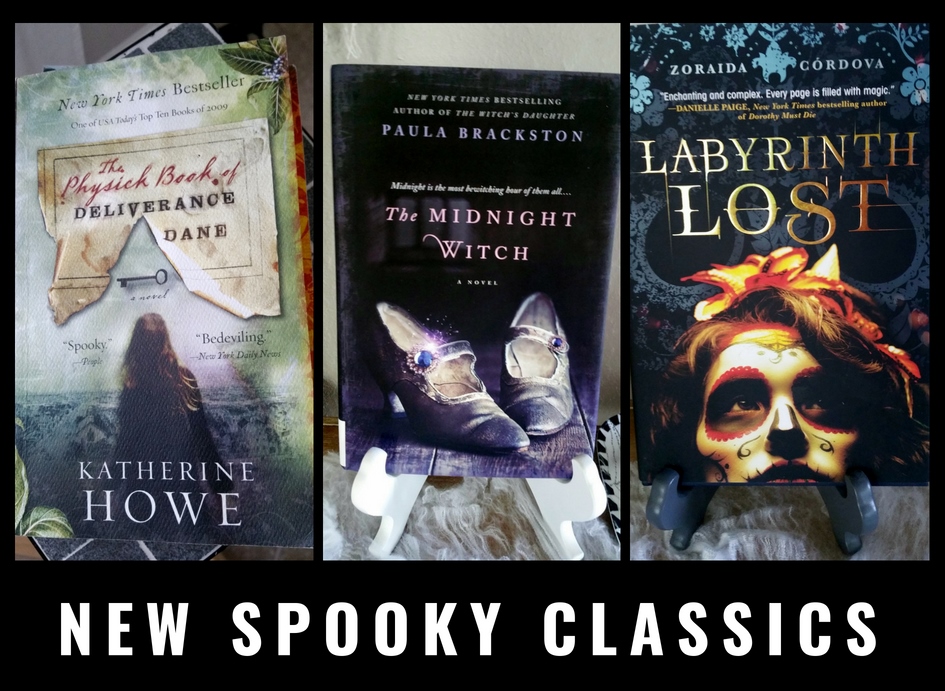
Setting the mood is so much fun, although, I admit, I can go overboard, as per The Hubster ‘s opinion. You can read about just how far I can go in my Dracula Book Review.
Although I can certainly go crazy talking about books, Book Fiend that I am, this post is about Halloween DIY crafts and decorations you can make on a budget. These Halloween crafts are Cheap, Easy to make, and you can get them done in a weekend.
I decided to test my mettle on a few Halloween Craft Ideas I found on Pinterest. With an inability to pick just one, I settled on several: Cousin Itt, Apothecary Bottles, a Spell Book, Bloody Candles, and a Cloche.
I sourced most of the required items from dollar stores & Goodwill and I think my first attempt turned out pretty well!
The process took some time, it was messy, but it was mostly a whole heck of a lot of fun! Take a look at my creative process:
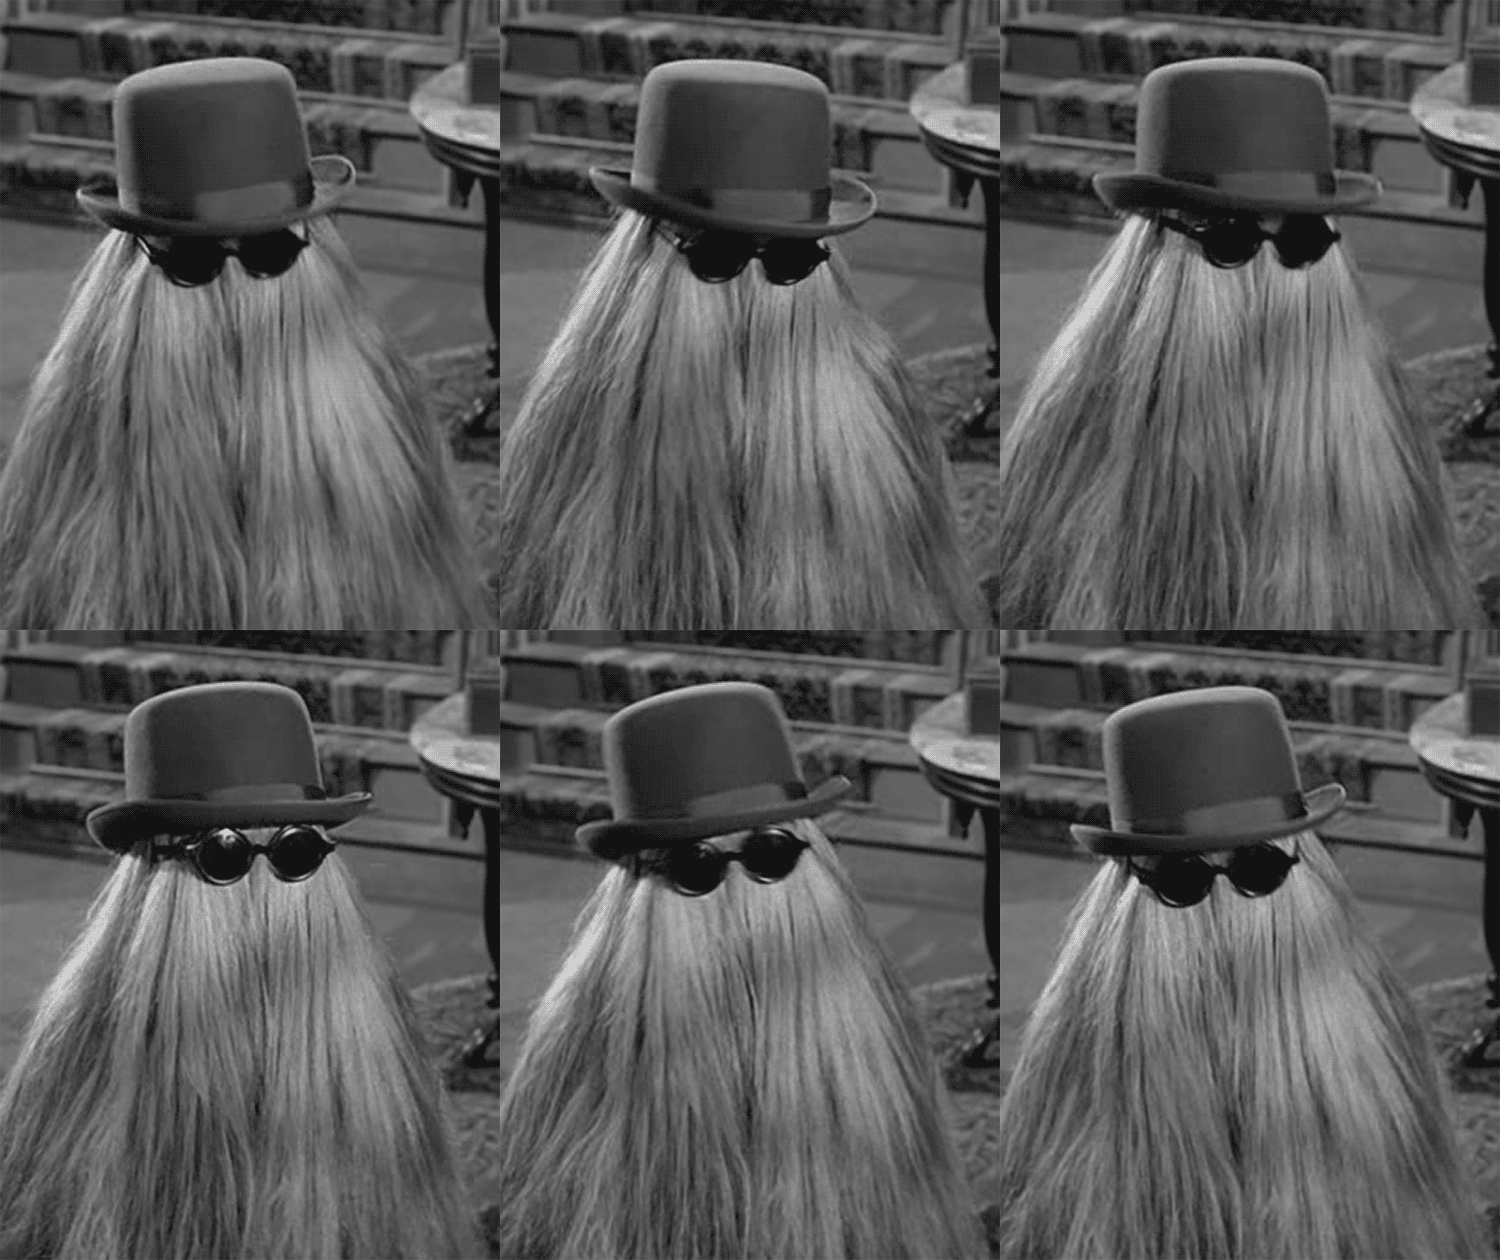
THE REAL COUSIN ITT:
MY CREATIVE PROCESS
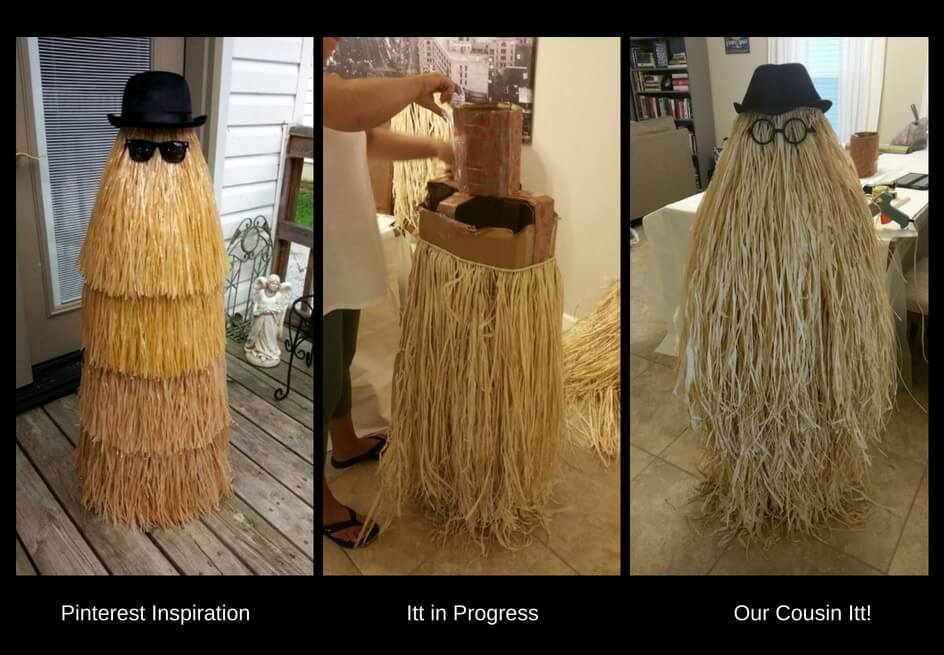
Two hands were essential for our dear old cousin. I recruited my sister-in-law for some assistance and boy did we have fun! We laughed out butts off with the mishaps (there was glue everywhere).
The boxes were scored from one of my husband’s work shipments. We cut, shaped, and taped the form, used hula skirts from Dollar Tree store for his “hair”, topped him off with his classic accessories and VOILA! Cousin Itt!
APOTHECARY BOTTLES:
PINTEREST INSPIRATION & CREATIVE PROCESS
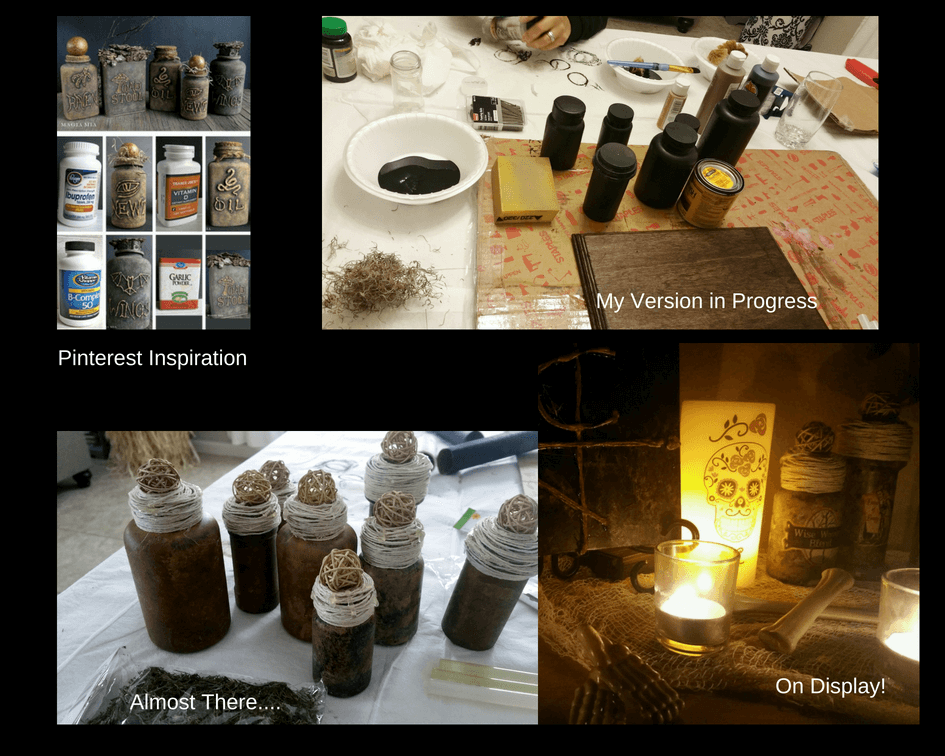
These were time consuming but Its OK. I took my time and enjoyed the unhurried meditative process.
I emptied the contents of various pill and spice bottles into labeled Ziplock baggies for later use. Then I got down to business.
I scuffed up the bottles a bit with sand paper, first sponge-painted them black, let it dry, then I sponge-painted a mix of caramel & gold on top of the black.
I hot-glued twine around the cap, topping it off with a “twig” ball I found at Dollar Tree (1 bag = 6 balls).
I found old fashioned labels online, printed them out and mod-podged those little suckers on for the big finish! Eye of Newt, anyone?
SPELL BOOK:
INSPIRATION FROM PINTEREST
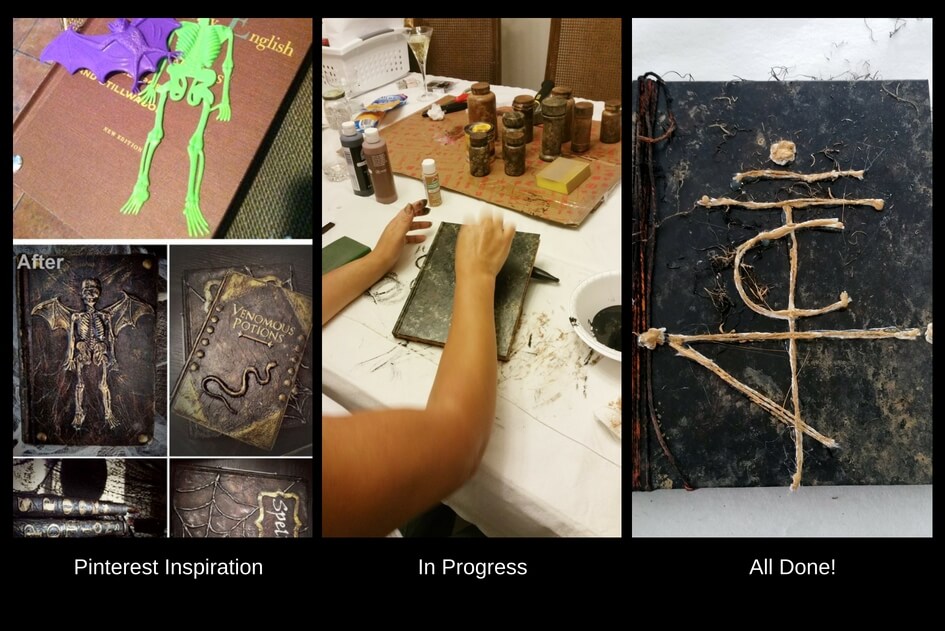
This creation began once again at Dollar Tree. I purchased a hardcover book, scuffed it up with sand paper, painted it using the same method as the apothecary bottles (sponge painted black first then a mix of caramel/gold).
While the paint was still wet, I applied Spanish Moss sporadically about, letting it dry. I then used the same twine I wrapped around the bottle-tops, cutting them in lengths to form a rune (research indicates this rune is for prosperity).
I hot-glued the twine onto the cover, dabbled some more paint, and VOILA! Spell Book!
BLEEDING CANDLES:
INSPIRATION FROM PINTEREST
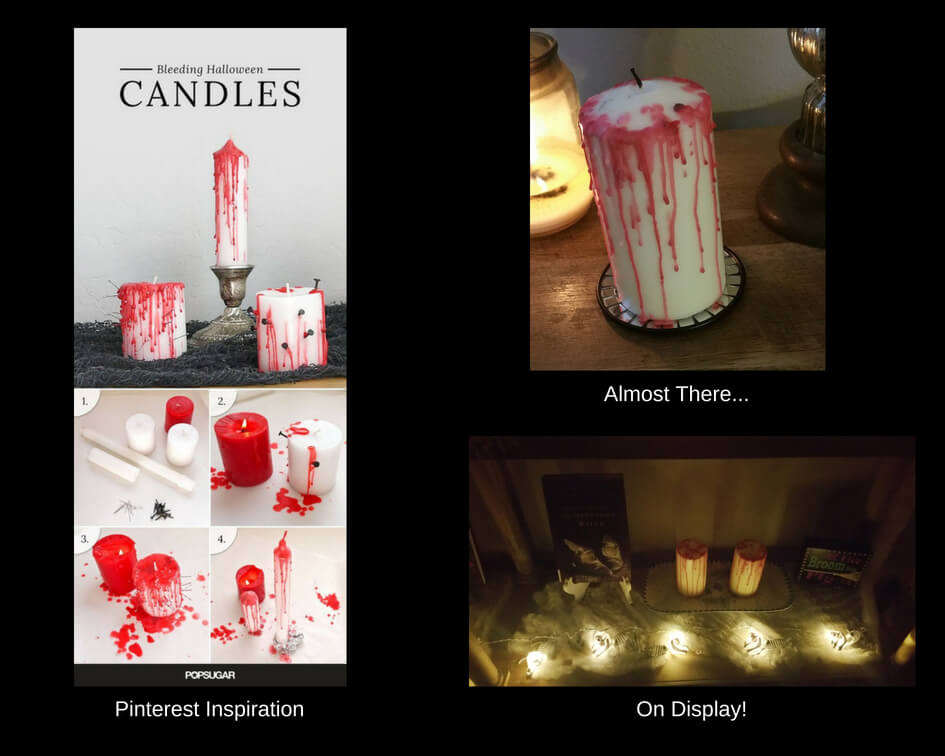
This project was by far, the simplest. I purchased 2 Dollar Tree, white pillar candles and one red candle. I melted the red candle allowing it to drip onto the white candles, DONE!
I plan on adding more next year but I’m going to use a red crayon instead of a red candle because I read somewhere it works better. We’ll soon see. I’ll let you know how it goes.
CREEPY CLOCHE:
INSPIRATION FROM PINTEREST
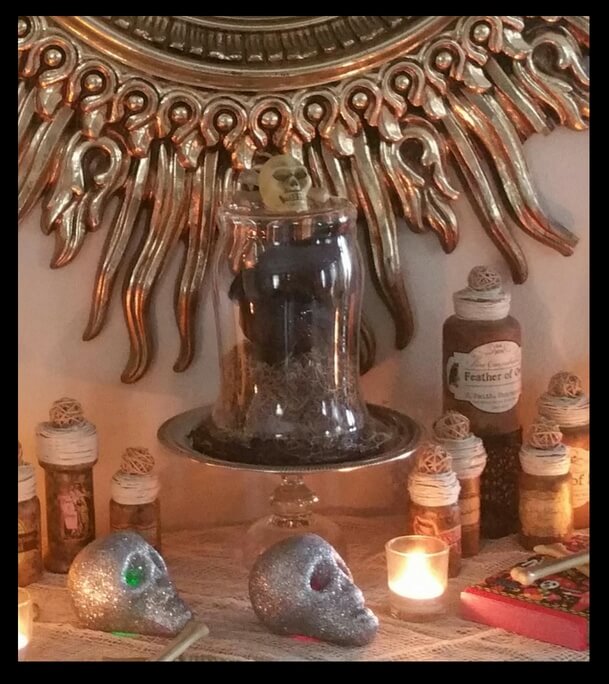
The cloche was a last-minute addition and I’m not sure if I like it or not. However, it doesn’t look too terrible, so I included it in the final display.
I started with 2 black ravens and Spanish moss (Dollar Tree, of course). I also purchased a 3 dollar vase from a liquidator. I had a Styrofoam soup bowl which I inverted, painted black and hot-glued the moss onto it.
I placed the ravens on top of one another attaching them together with a penny nail. I then used a second penny nail and attached them each to the inverted bowl.
I then inverted the vase, placing it over the ravens “nest”, then placed the entire piece on top of an aluminum serving tray also purchased at the dollar store.
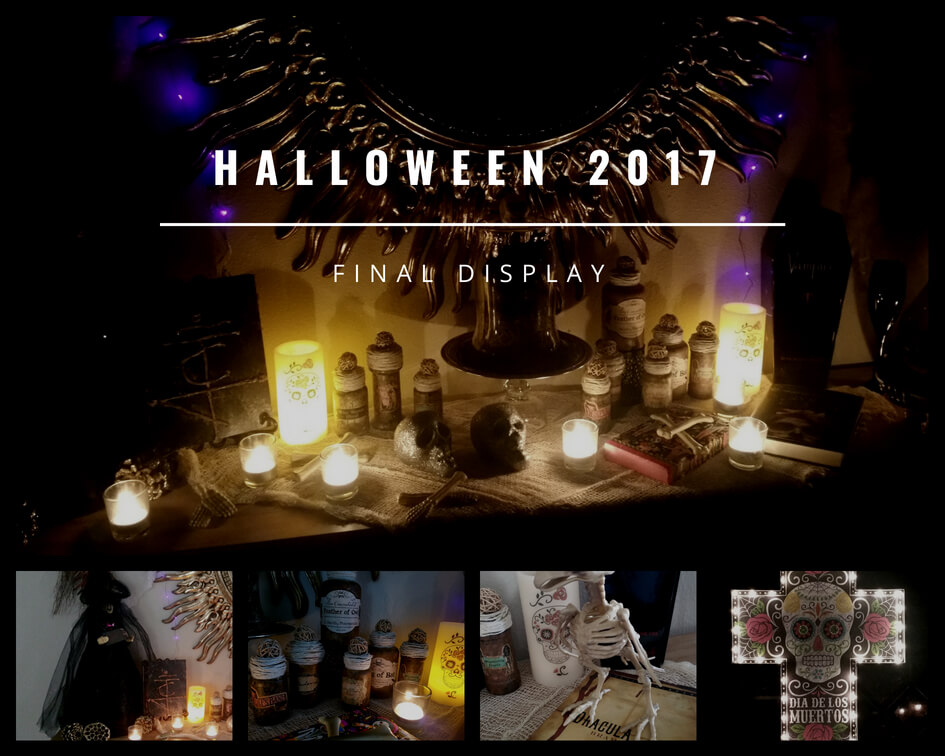
I broke apart a plastic skeleton and used some of the pieces to top the cloche. I thought it sat to low for the final display so I inverted a candle holder ($ .69 at Goodwill), and placed the entire piece on top of that; VOILA, Creepy Cloche!
I think my crack at Halloween crafts turned out pretty well. I wound up adding some other spooky items here and there. I scattered the rest of the skeleton pieces about, added Day of the Dead LED pillar candles and a string of purple lights.
I couldn’t pass up the Vampire Wine Coffin Box. Yes, there’s a bottle of wine inside and I scored it at World Market (I am obsessed with this store; they also have a fantastic loyalty program) and flanked it with black flutes (.50 a piece from Goodwill).
Finally, Book Fiend that I am, no display would be complete without books on display. These projects were a lot of fun and every time I pass by them it makes me smile, #Seize YOUR Day!
Be Well!
Cynthia
385Life
Live · Love · Learn




These are amazing! I absolutely love the cousin It! We are hoping to decorate for Halloween this weekend, your post now has me totally excited to get to it!
How awesome…Honestly, Cousin Itt is my favorite because he’s so nostalgic. Just so you know, I keep him up in my house year round, and I just place another hat on his head depending on the season or holiday, and whenever like delivery people come over, or friends or family, its so funny to see them all exclaim, “HEY! Its Cousin Itt.”
That was lots of fun but the family time was PRICELESS! Look forward to more laughs and crafts!
Wow looks like you had a lot of fun creating these! It’s never easy to make a creation just by looking at the pictures! You have done a great job creating these!
Thanks so much, no it’s not easy, and much of it is once you get started, you get a feel for what YOU want to do. But they were all fairly easy to make, as a matter of fact, kids could have helped out easily but all of my kids are too grown for crafts, LOL.
I love the bleeding candles the best. They are super simple to make and look so creepy.
Thanks…they really are easy to make, and they do look creepy. So much so, that they sometimes freak me out! LOL
I love The Addams Family and will be attempting to make Cousin It next year. Great post!
Thanks! He’s my favorite and we keep him out year round, LOL…I’m hoping to update this post with some add-on crafts. Happy Haunting!
Cynthia,loved the article
I have read some of the books and understand your love for them. The decorations are awesome
I love Halloween and now I am even more excited to start my own decorations.
Thanks for all the ideas
You’re so welcome! And remember, it’s much more fun when you make it a family event!